
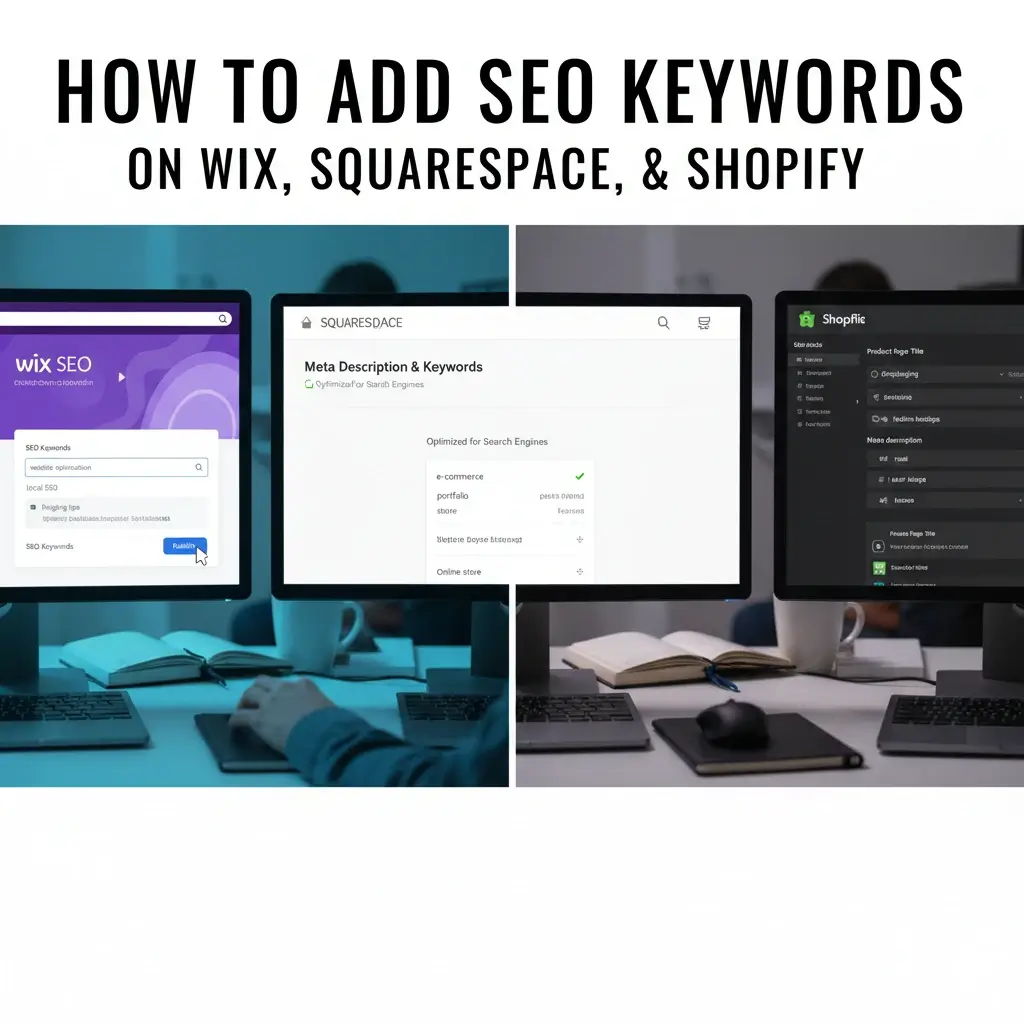
Quick Answer: To add SEO keywords on Wix, Squarespace, or Shopify, optimize five elements: the SEO title (title tag), meta description, URL slug, H1 heading, and image alt text. Each platform has a built-in SEO panel for the title and meta description, while headings, URLs, and alt text are edited in the main page editor.
Table of Contents
How to Add SEO Keywords on Wix, Squarespace, and Shopify (What Changes by Platform)
The eight keyword placement zones (title tag, H1, URL slug, opening paragraph, subheadings, body content, image alt text, and meta description) apply universally across every website platform. Google does not care whether your site runs on Wix, Squarespace, Shopify, or WordPress. It reads the HTML output and evaluates the same signals regardless of what generated that HTML.
What does differ is how much control each platform gives you over those signals and how easy that control is to access.
WordPress, with an SEO plugin, gives you granular control over every element. The platforms in this guide give you less total control but sufficient control over the elements that matter most. Knowing exactly where each field lives on each platform is the difference between optimizing correctly and leaving your most important ranking signals unset.
Before working through any platform-specific instructions below, make sure you understand what you are optimizing and why. The complete placement framework is explained in Where to Put Keywords on a Page, while the full strategy for integrating keywords across your site is detailed in How to Add Keywords to Your Website.
How to Add Keywords on Wix: Full Walkthrough
Wix has invested significantly in its SEO infrastructure over the past three years. Its native SEO tools now expose all critical keyword placement fields without requiring any third-party app.
Step 1: Access the SEO Settings for Any Page
In the Wix Editor, hover over the page you want to optimize in the Pages panel on the left. Click the three-dot menu that appears and select “Page SEO” (or in some interfaces: “Settings” then navigate to the SEO tab).
Alternatively, in Wix Studio or the newer interface: Select the page, click the Settings icon, and navigate to the “SEO” or “Search Engine” section.
Step 2: Optimize the SEO Title (Title Tag)
The SEO title is separate from your page name (which appears in navigation menus). In the SEO settings panel, find the “SEO Title” or “Page Title for Google” field.
Write a title that:
- Begins with your primary keyword
- Stays between 50 and 60 characters
- Provides a reason to click (not just keyword + brand name)
Example for a home services page:
- Weak:
Services | My Wix Website - Strong:
Kitchen Renovation Services in Mumbai | Free Estimates | HomePro
Step 3: Write the Meta Description
In the same SEO settings panel, find the “Meta Description” field. Write 150 to 160 characters that:
- Include your primary keyword naturally
- State what the visitor will find on this page specifically
- Offer a clear differentiator from competing search results
Wix shows a preview of how your title and meta description will appear in search results. Use this preview to verify length and readability before saving.
Step 4: Edit the URL (Page Address)
In the SEO settings or Page Settings panel, find the “Page URL” or “SEO URL” field. Edit the URL to a clean, keyword-based slug.
Note: Wix automatically prepends your site structure to the URL (e.g., your page name might appear as /services/kitchen-renovation if it is nested). You can control the segment after the last slash. Focus optimization on that controllable segment.
Remove stop words, use hyphens, keep it concise.
Step 5: Optimize the H1 Heading
Return to the page editor. The primary visible headline element on your page should be styled as Heading 1 in Wix’s formatting options. Click the heading element, and in the text formatting options, verify it is set to H1 (not H2 or “Title”).
Write this H1 with your primary keyword included. It can differ slightly from your SEO title.
Step 6: Add Alt Text to All Images
In the Wix Editor, click any image. A toolbar appears above it. Click the “Settings” icon (gear symbol) in that toolbar. An “Image Settings” panel opens. Find the “What’s in the image?” field or the “Alt Text” field and write an accurate, descriptive sentence about the image, including your keyword or a variation where natural.
Wix-specific limitation: Wix does not provide full control over the HTML structure of your pages. Some heading elements may be styled as headings visually without using the correct HTML heading tags (H1, H2, H3). Use Wix’s native “Text Settings” to verify that heading elements use the correct heading type, not just visual styling.
How to Add Keywords on Squarespace: Full Walkthrough
Squarespace is designed for visual clarity, which occasionally works against SEO visibility. Knowing exactly where every SEO field lives saves significant time.
Step 1: Access the SEO Settings for Any Page
In your Squarespace admin, go to Pages. Hover over any page and click the gear icon (Settings). In the Settings panel, navigate to the SEO tab.
For blog posts: Open the post editor, click the three-dot menu in the top right, and select “SEO Settings” or navigate to the Post Settings and look for the SEO section.
Step 2: Optimize the SEO Title
In the SEO tab, find the “SEO Title” field. This field controls the HTML title tag independently of your page title (which controls navigation labels and the H1).
Write your SEO title with the primary keyword first, 50 to 60 characters, written for clicks.
If the SEO title field is left empty: Squarespace defaults to using your page title as the SEO title. For most pages, you want to set this explicitly to control keyword positioning.
Step 3: Write the Meta Description
In the SEO tab, the “SEO Description” or “Meta Description” field controls your search result snippet.
150 to 160 characters. Primary keyword included naturally. Specific value proposition. Reason to click this result.
Squarespace may also let you set a social sharing image and description in the same panel. These are separate from your SEO meta description and do not affect rankings.
Step 4: Edit the URL Slug
In the Page Settings, navigate to the General tab. The “URL Slug” field is near the top.
Edit this to a clean, keyword-focused slug. Note that Squarespace prepends /blog/ to blog post URLs and / to regular pages. You control everything after that prefix.
Step 5: Set the H1 Heading
Return to the page editor. The first major text element on your page should use the “Heading 1” style in Squarespace’s text formatting options. Click any text block and use the formatting menu to select the correct heading level.
Squarespace uses a style system where heading appearance is defined by the site design, not by the HTML tag. Make sure the element you want as your H1 is actually set to use H1 in the formatting options, not just styled to look large.
Step 6: Add Alt Text to Images
Click any image in the Squarespace editor. A toolbar appears. Click the pencil/edit icon. In the image editing panel, find the “Alt Text” field and write an accurate, keyword-relevant description.
For product images or featured images in blog posts, Squarespace also uses the image filename as a fallback. Rename image files descriptively before uploading (e.g., keyword-placement-diagram-seo.jpg) as an additional signal.
Squarespace-specific limitation: URL structure flexibility is limited. Blog posts are always prepended with /blog/, and collection pages follow their own path structure. Your optimization focus should be on the controllable slug, the SEO title, the meta description, and the on-page H1.
How to Add Keywords on Shopify: Full Walkthrough
Shopify’s keyword optimization is divided between product pages, collection pages, and blog posts. Each follows the same core process but targets different keyword intents.
Step 1: Access the Search Engine Listing Section
Open any product, collection, or blog post in the Shopify admin. Scroll to the bottom of the editing page. Find the “Search engine listing” section. Click “Edit website SEO” to expand it.
This single panel controls all three critical SEO fields: page title, meta description, and URL handle.
Step 2: Optimize the Page Title
In the “Page title” field, write a title that leads with your primary keyword. For product pages, a format that works consistently is:
[Primary Keyword] - [Differentiating Detail] | [Brand Name]
Example: Handmade Leather Card Wallet - Slim Full-Grain Brown | Nomad Goods
Keep it to 50 to 60 characters. Shopify shows character count. For collection pages, the format is:
[Category Keyword] - [Differentiator] | [Brand]
Example: Leather Wallets for Men - Handcrafted Minimalist Designs | Nomad Goods
Step 3: Write the Meta Description
In the “Meta description” field, write 150 to 160 characters that describe the product or collection with the primary keyword included naturally.
For product pages, effective meta descriptions often include: what the product is, a key feature, and a purchase motivator (free shipping, limited stock, rated 4.8 stars).
Example: Slim handmade leather card wallet for men. Full-grain brown leather, holds 6 cards, RFID-blocking. Free shipping on orders over 1000 rupees.
Step 4: Edit the URL Handle
In the same Search Engine Listing section, edit the “URL and handle” field. Shopify automatically prepends /products/ or /collections/ before your handle. Edit only the handle segment.
Auto-generated: handmade-leather-card-wallet-slim-full-grain-brown-rfid-blocking-minimalist-design-for-men Optimized: leather-card-wallet-slim-brown
Step 5: Optimize the Product Title (H1)
The product title at the top of the editing page is your H1 heading. It is the large, visible headline on the product page and is separate from the SEO title in the Search Engine Listing section.
Include your primary keyword in the product title, but write it for the customer first. It needs to describe the product clearly and accurately. A product title that is SEO-optimized but confuses customers is counterproductive.
Step 6: Add Alt Text to Product Images
In the product editor, scroll to the “Media” section. Hover over any image and click the three-dot menu. Select “Edit alt text.” Write an accurate description of what the image shows, including the product name and a key attribute.
For a product called “Slim Brown Leather Card Wallet,” good alt text might be: Slim brown full-grain leather card wallet open showing 6 card slots and minimal profile
This is especially important on Shopify because Google Images drives meaningful product discovery traffic, and product image alt text directly influences whether your product images appear for visual search queries.
Platform Comparison: SEO Control Side by Side
| Keyword Placement Zone | Wix | Squarespace | Shopify |
|---|---|---|---|
| Title Tag (SEO Title) | Yes, in page SEO settings | Yes, in page SEO tab | Yes, in Search Engine Listing |
| Meta Description | Yes, in page SEO settings | Yes, in page SEO tab | Yes, in Search Engine Listing |
| URL Slug | Partial control (last segment) | Partial control (after type prefix) | Partial control (after type prefix) |
| H1 Heading | Yes, in page editor | Yes, in page editor | Yes, product title or page title |
| Image Alt Text | Yes, in image settings | Yes, in image edit panel | Yes, in media alt text field |
| Schema Markup | Limited native support | Limited native support | App-dependent |
| Custom Code/Head Tags | Yes (paid plans) | Yes (Business plan+) | Yes, through theme code |
The meta description section in our dedicated guide explains how to craft this element for maximum click-through rates on any platform: Meta Description SEO Guide.
What None of These Platforms Can Do Automatically
Understanding the limits of each platform helps you avoid the mistake of assuming the platform is handling something it is not.
None of these platforms automatically generate optimized SEO titles. The default behavior on all three is to use the page name or product title as the title tag, including any verbose phrasing that degrades keyword positioning. Always set the SEO title manually in the respective panel.
None of these platforms populate image alt text automatically. Every image on every page needs to be manually edited. Build this into your publishing workflow.
None of these platforms prevent keyword cannibalization. If you publish two product pages targeting the same keyword, both platforms will happily serve both pages. You need to audit and manage keyword assignments manually.
None of these platforms optimize your content for you. The content you write, the headings you use, the opening paragraph you craft, and the internal links you add are entirely your decisions. The platforms expose the fields. You fill them with strategy.
Frequently Asked Questions
Does Wix have better SEO than Squarespace?
Both platforms produce valid HTML output that Google can crawl and rank. The SEO advantage between them is marginal for most sites. Squarespace has historically had slightly cleaner code structure; Wix has improved significantly with its Wix Studio platform. Neither gives you the control that WordPress with an SEO plugin provides. Choose the platform based on design needs and ease of use, then optimize the SEO fields diligently.
Can Shopify product pages rank for competitive keywords?
Yes. Shopify product pages rank for highly competitive eCommerce keywords every day. The optimization principles are identical to any other page type: keyword in the title, H1, URL, opening paragraph, and meta description, supported by semantic vocabulary in the product description. The additional factors that influence Shopify rankings are page speed, review content, and link authority, none of which are controlled through keyword fields alone.
Should I install an SEO app on Shopify?
For most Shopify stores, the built-in Search Engine Listing fields cover the critical placement zones. SEO apps like Smart SEO or Plug in SEO add value for schema markup automation, alt text bulk editing, and structured data management. They are useful for larger stores with many products. For small stores, the native fields are sufficient if used correctly.
Is there a way to add keywords in Wix without touching the SEO panel?
Your page content, headings, and image alt text can all be optimized from the main editor. The SEO panel is required only for the title tag and meta description. Both are worth setting, but if you cannot access the SEO panel for any reason, body content optimization through the main editor still provides value.
Key Takeaways
All three platforms expose the five critical SEO fields you need: the SEO title, meta description, URL slug, H1 heading, and image alt text. The process is identical in goal across platforms. The mechanics differ by where each field lives in the respective interface.
Wix: Page SEO settings panel. Squarespace: Page settings SEO tab. Shopify: Search Engine Listing section at the bottom of each product or page editor.
None of these platforms optimize your content automatically. The strategy and the writing are yours. The platforms just expose the fields.