
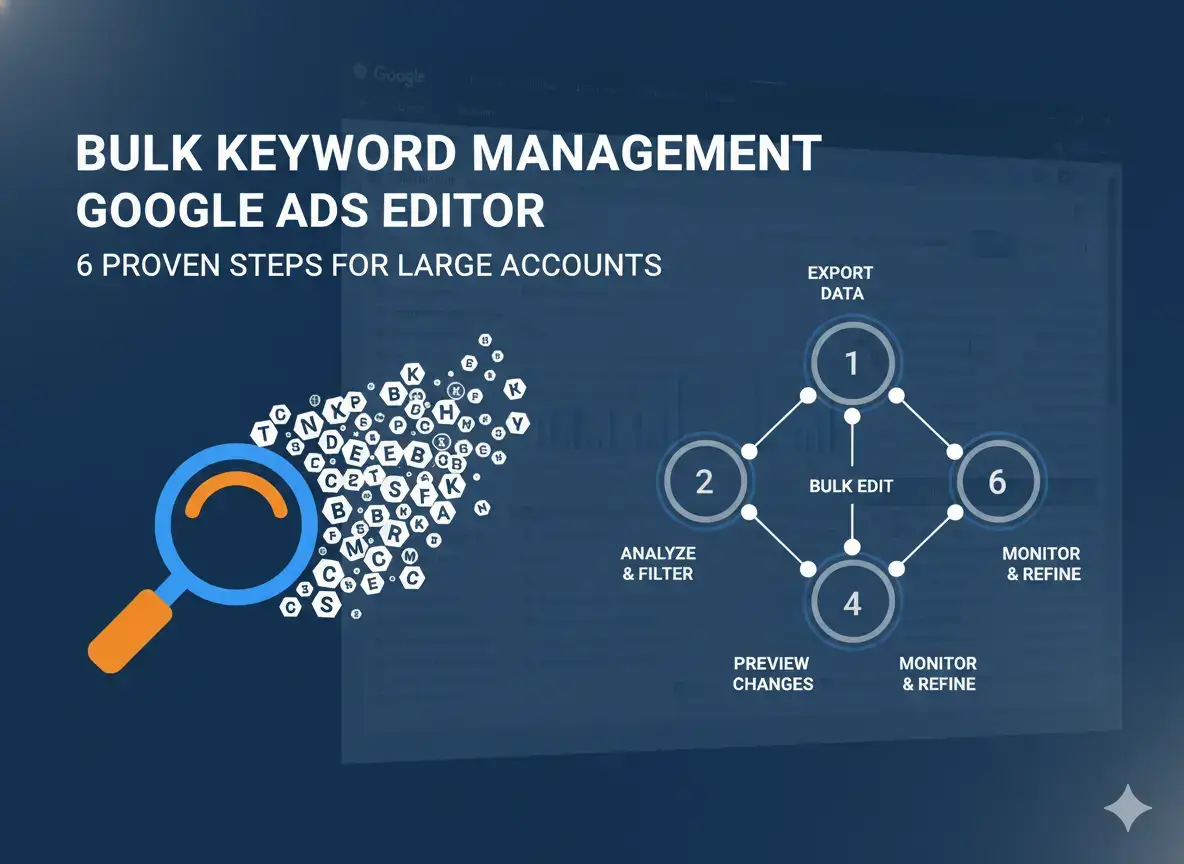
The Google Ads web interface is built for monitoring and small changes. For accounts with hundreds of campaigns and thousands of keywords, it becomes a bottleneck. Making the same status change across 30 campaigns individually takes an hour. In Google Ads Editor, the same change takes under two minutes.
Bulk keyword management in Google Ads Editor is the standard workflow for any agency or large in-house team. Editor is a free desktop application from Google that lets you download your entire account, make changes offline, review every pending edit before it goes live, and upload everything in one batch. This guide covers the six core workflows every serious advertiser needs to know.
Table of Contents
Why the Web Interface Is Not Enough for Large Accounts
The Google Ads web interface is built for viewing and monitoring. It works for individual changes. It becomes painfully slow for bulk operations.
Making the same keyword change across 30 campaigns in the web interface means 30 individual edit sessions. In Google Ads Editor, the same change takes one filter, one selection, one status change.
Finding all keywords containing the word “free” across 200 ad groups in the web interface is nearly impossible. In Editor, it is a 10-second filter operation.
For any account with more than a few hundred keywords, Editor is not optional. It is the only practical way to maintain keyword quality at scale.
What Is Google Ads Editor?
Google Ads Editor is a free desktop application for Windows and Mac, available at ads.google.com/home/tools/ads-editor/
It downloads your account locally. You make changes offline. A staging view shows every pending change before anything goes live. You upload all changes in one batch. You can undo everything before posting.
Step 1: Install, Connect, and Always Sync First
- Download Google Ads Editor from Google’s website
- Open and sign in with your Google Account
- Click Add Account and enter your credentials
- Click Download to pull the full account
Before every editing session: Click Get recent changes (Ctrl + R on Windows, Cmd + R on Mac). This pulls any changes made in the web interface since your last sync. Skipping this creates conflicts between your offline edits and recent web changes.
Step 2: Filter to Find Exactly the Keywords You Need
The filter system is the key to safe bulk editing. Without filtering, you risk editing keywords you did not intend to touch.
- In the left-hand tree, select your scope: account, campaign, or ad group
- In the middle panel, click Keywords, then Keywords
- Click Filter at the top of the list
- Add your conditions: keyword text contains a specific word, status is Enabled, match type equals Phrase
Example: Find all enabled keywords containing “free” across the entire account.
Filter 1: Keyword text contains “free”
Filter 2: Status is Enabled
Apply.
The list now shows only enabled keywords containing “free.” You can pause or delete all of them in one action.
Step 3: Bulk Pause Keywords
- Apply your filter
- Click one keyword, then press Ctrl + A (or Cmd + A on Mac) to select all
- Right-click any selected keyword
- Click Change status, then Paused
- A pencil icon appears on each keyword showing a pending change
Click Post to upload, or continue making more changes first.
To select individual keywords rather than all: hold Ctrl (Windows) or Cmd (Mac) and click each row.
Step 4: Bulk Delete Keywords
The process is identical to pausing, but choose Removed from the status menu.
Review the change log at the bottom of the screen carefully before posting. Deleted keywords lose Quality Score history permanently. When uncertain, use Pause instead of Removed. For the full framework, read Pause vs. Delete Keywords in Google Ads.
Step 5: Bulk Add Negative Keywords via Spreadsheet Import
This is the fastest method for adding large batches of negatives across many campaigns.
Step A: Export current account structure
Click File, then Export spreadsheet, then Current selection. Save the file.
Step B: Add negatives in the spreadsheet
Open in Excel or Google Sheets. Navigate to the Negative keywords tab. Add your keywords with these required columns:
- Campaign (must match campaign name exactly)
- Ad Group (leave blank for campaign-level negatives)
- Keyword (the negative term)
- Match Type (Broad, Phrase, or Exact)
- Status (Enabled)
Step C: Import back to Editor
Click File, then Import spreadsheet. Select your edited file. Editor shows a comparison of changes. Review the log for errors. Post when satisfied.
For managing shared lists that apply across campaigns, read Negative Keyword Lists in Google Ads.
Step 6: Use Find and Replace for Account-Wide Keyword Edits
Find and Replace in Editor modifies text across thousands of keywords simultaneously.
- Click Edit, then Find and Replace (or Ctrl + H)
- Set the scope: all campaigns or selected campaigns
- Set the entity type: Keywords
- Set the field: Keyword Text
- Enter Find and Replace values
- Preview, then apply
Use case: change all instances of “buy” to “purchase” across every keyword in the account. One action. Every campaign updated simultaneously.
The Full CSV Workflow (Best Practice for Major Changes)
For any significant keyword management project, use the complete export, edit, re-import cycle.
Export: Select your target campaigns in Editor. File, Export spreadsheet, Current selection.
Edit in spreadsheet: Add an “Action” column. Mark each keyword: pause, delete, or keep. Apply status changes. Delete the helper column. Save.
Re-import: File, Import spreadsheet. Select the file. Editor shows the full diff. Review carefully. Post.
This workflow gives you full spreadsheet functionality (formulas, conditional formatting, VLOOKUP) applied to your keyword data with a complete review before anything changes in the live account.
Common Mistakes That Cause Problems
Not syncing before editing. Changes made in the web interface after your last download create conflicts. Always sync first.
Skipping the change log review. The change log shows every pending modification. Spend 30 seconds reviewing it before every post. One incorrect bulk deletion can set campaign performance back months.
Using Replace instead of Add/Update mode on import. Replace mode overwrites everything in the scope. Use Add/Update for incremental changes.
Frequently Asked Questions
Is Google Ads Editor free?
Yes. Google Ads Editor is free to download and use.
Can multiple team members use Editor on the same account?
Yes, but coordinate. If two people edit and post changes to the same campaigns simultaneously, conflicts occur. Establish clear ownership of which campaigns each person manages.
Can I undo changes after posting in Editor?
Not automatically. Reverse them by re-importing a pre-change backup or making inverse changes manually. This is why the pre-post review step matters so much.
Related articles: